
DIY Flooring Installation: A Step-by-Step Guide


Introduction to DIY Flooring
Installing your own flooring can be a rewarding and cost-effective project. With the right tools and guidance, you can transform your space in just a few days. Whether you're looking to install laminate, vinyl, or hardwood, this step-by-step guide will help you through the process.
Preparing for Installation
Gather Your Materials
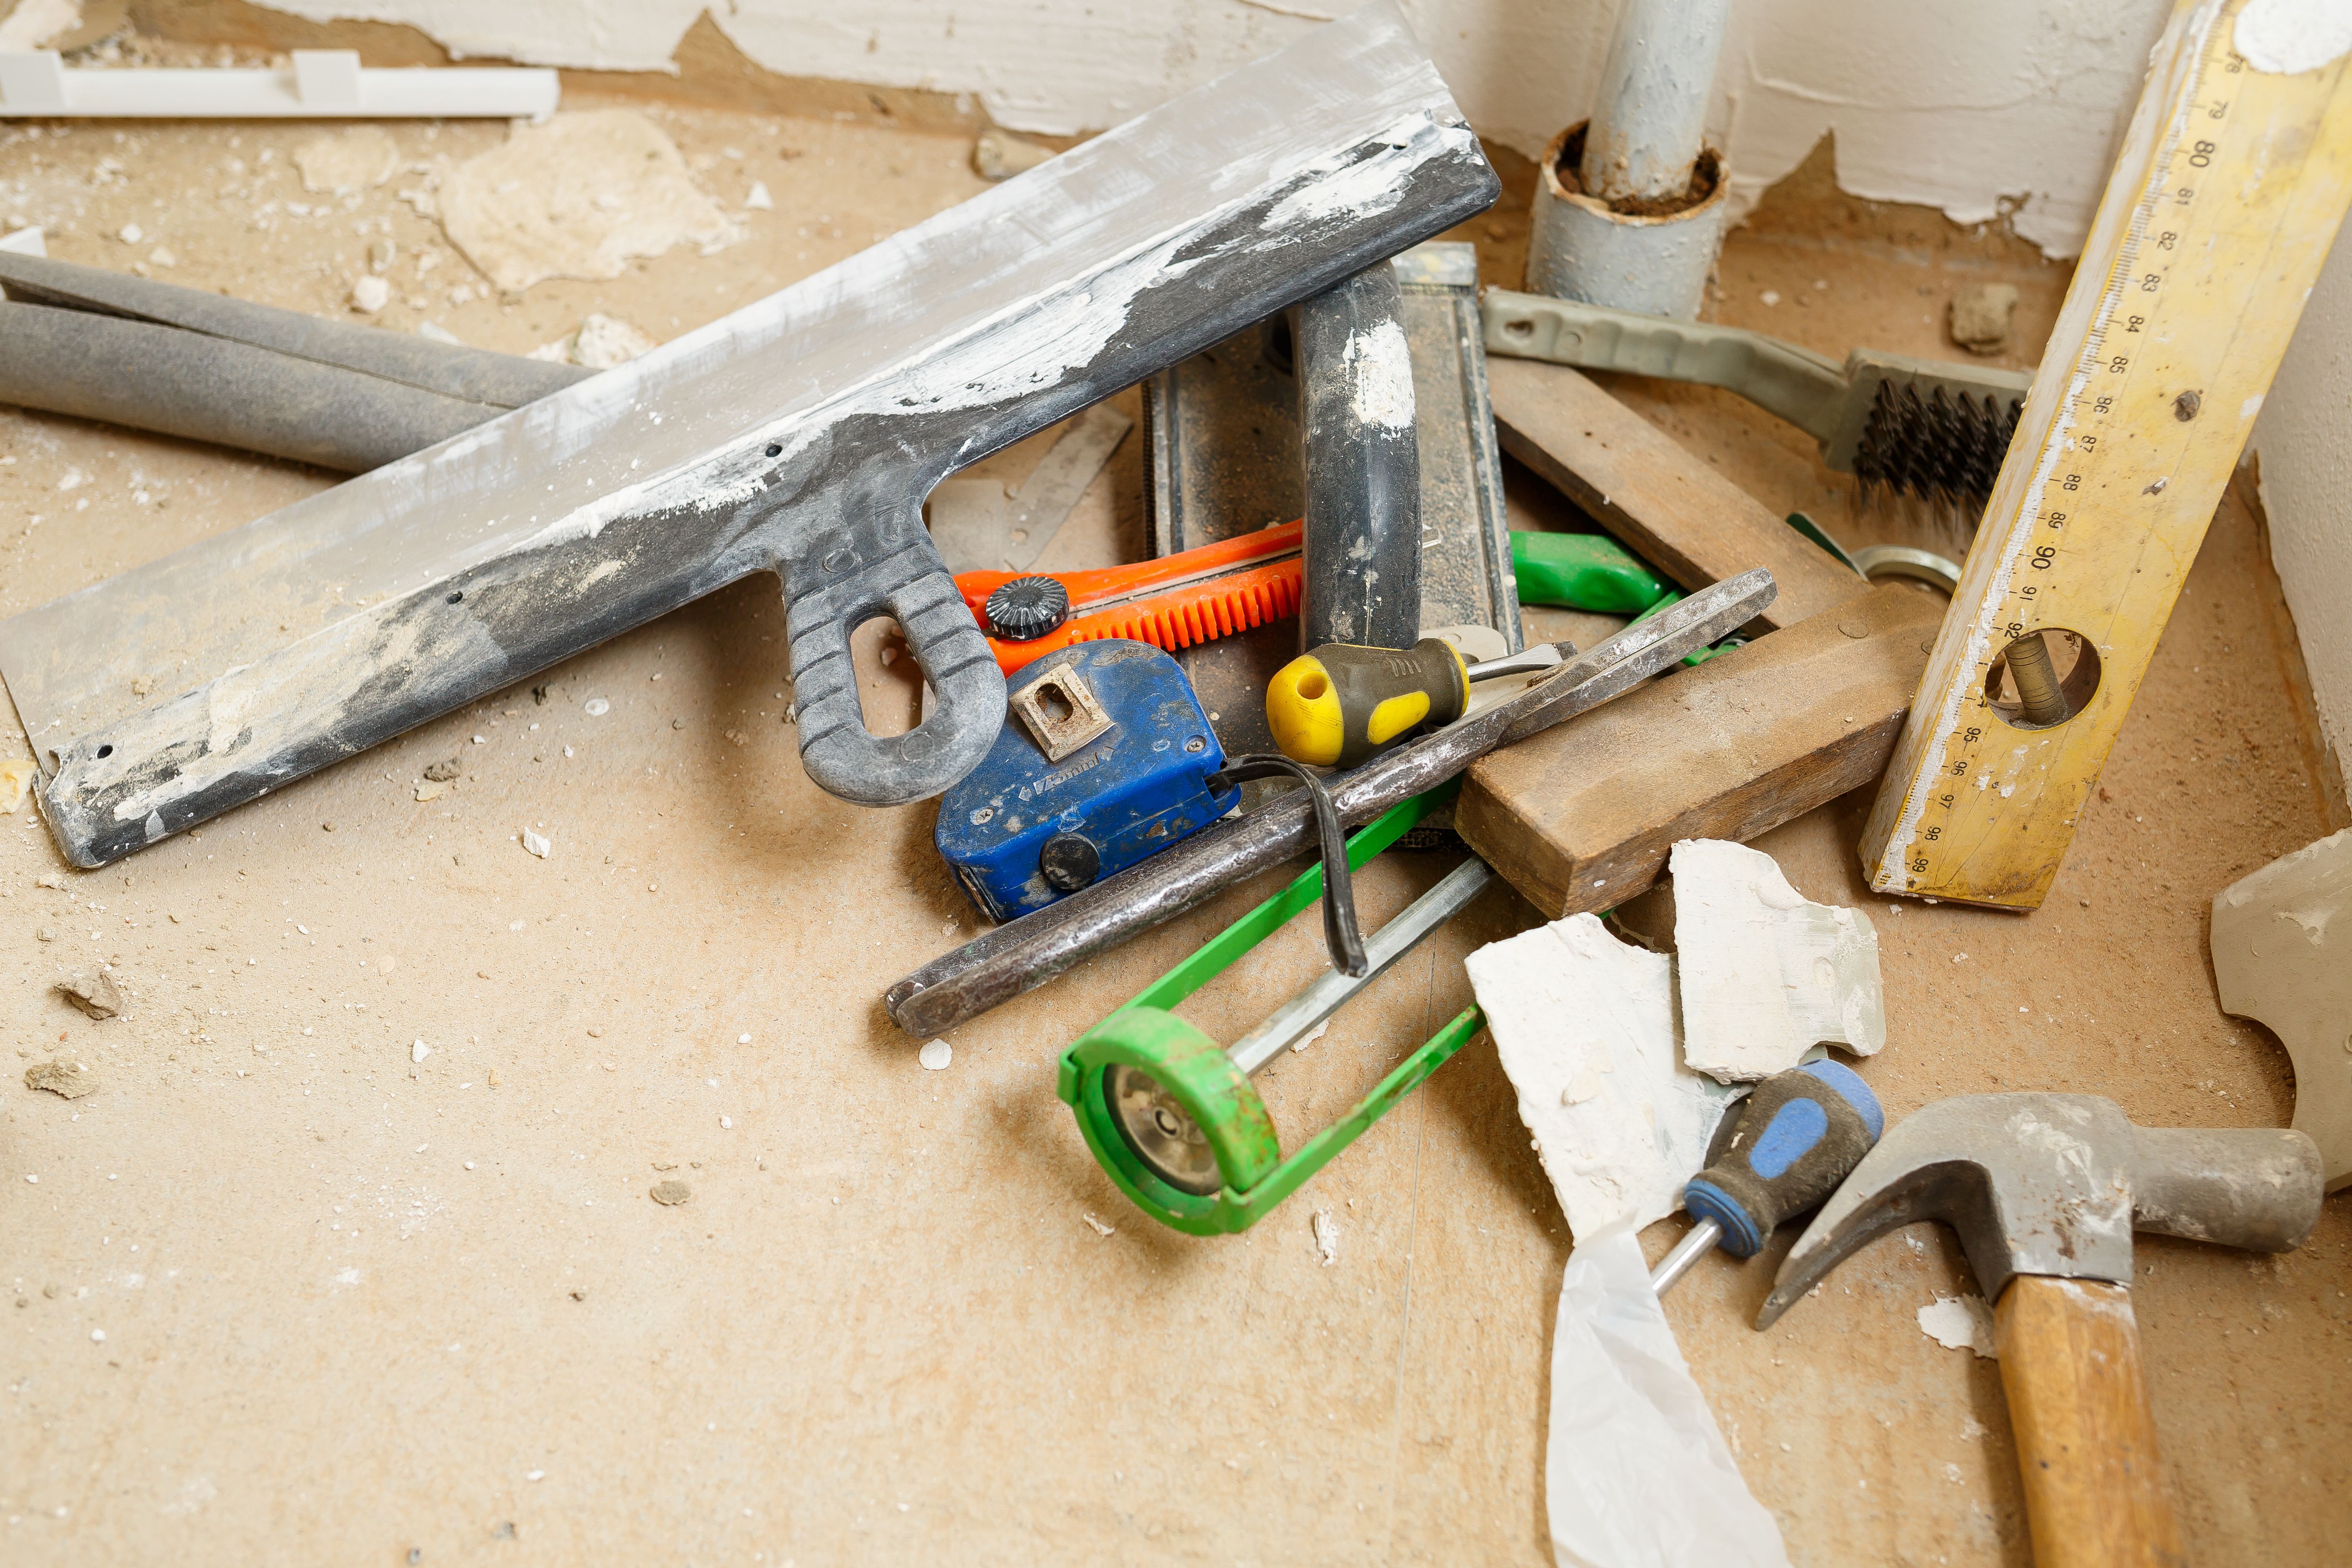
Before you begin, make sure you have all the necessary materials and tools. This includes your chosen flooring material, underlayment, adhesive (if needed), spacers, a saw, and a tape measure. Having everything ready will save you time and frustration.
Measure the Space
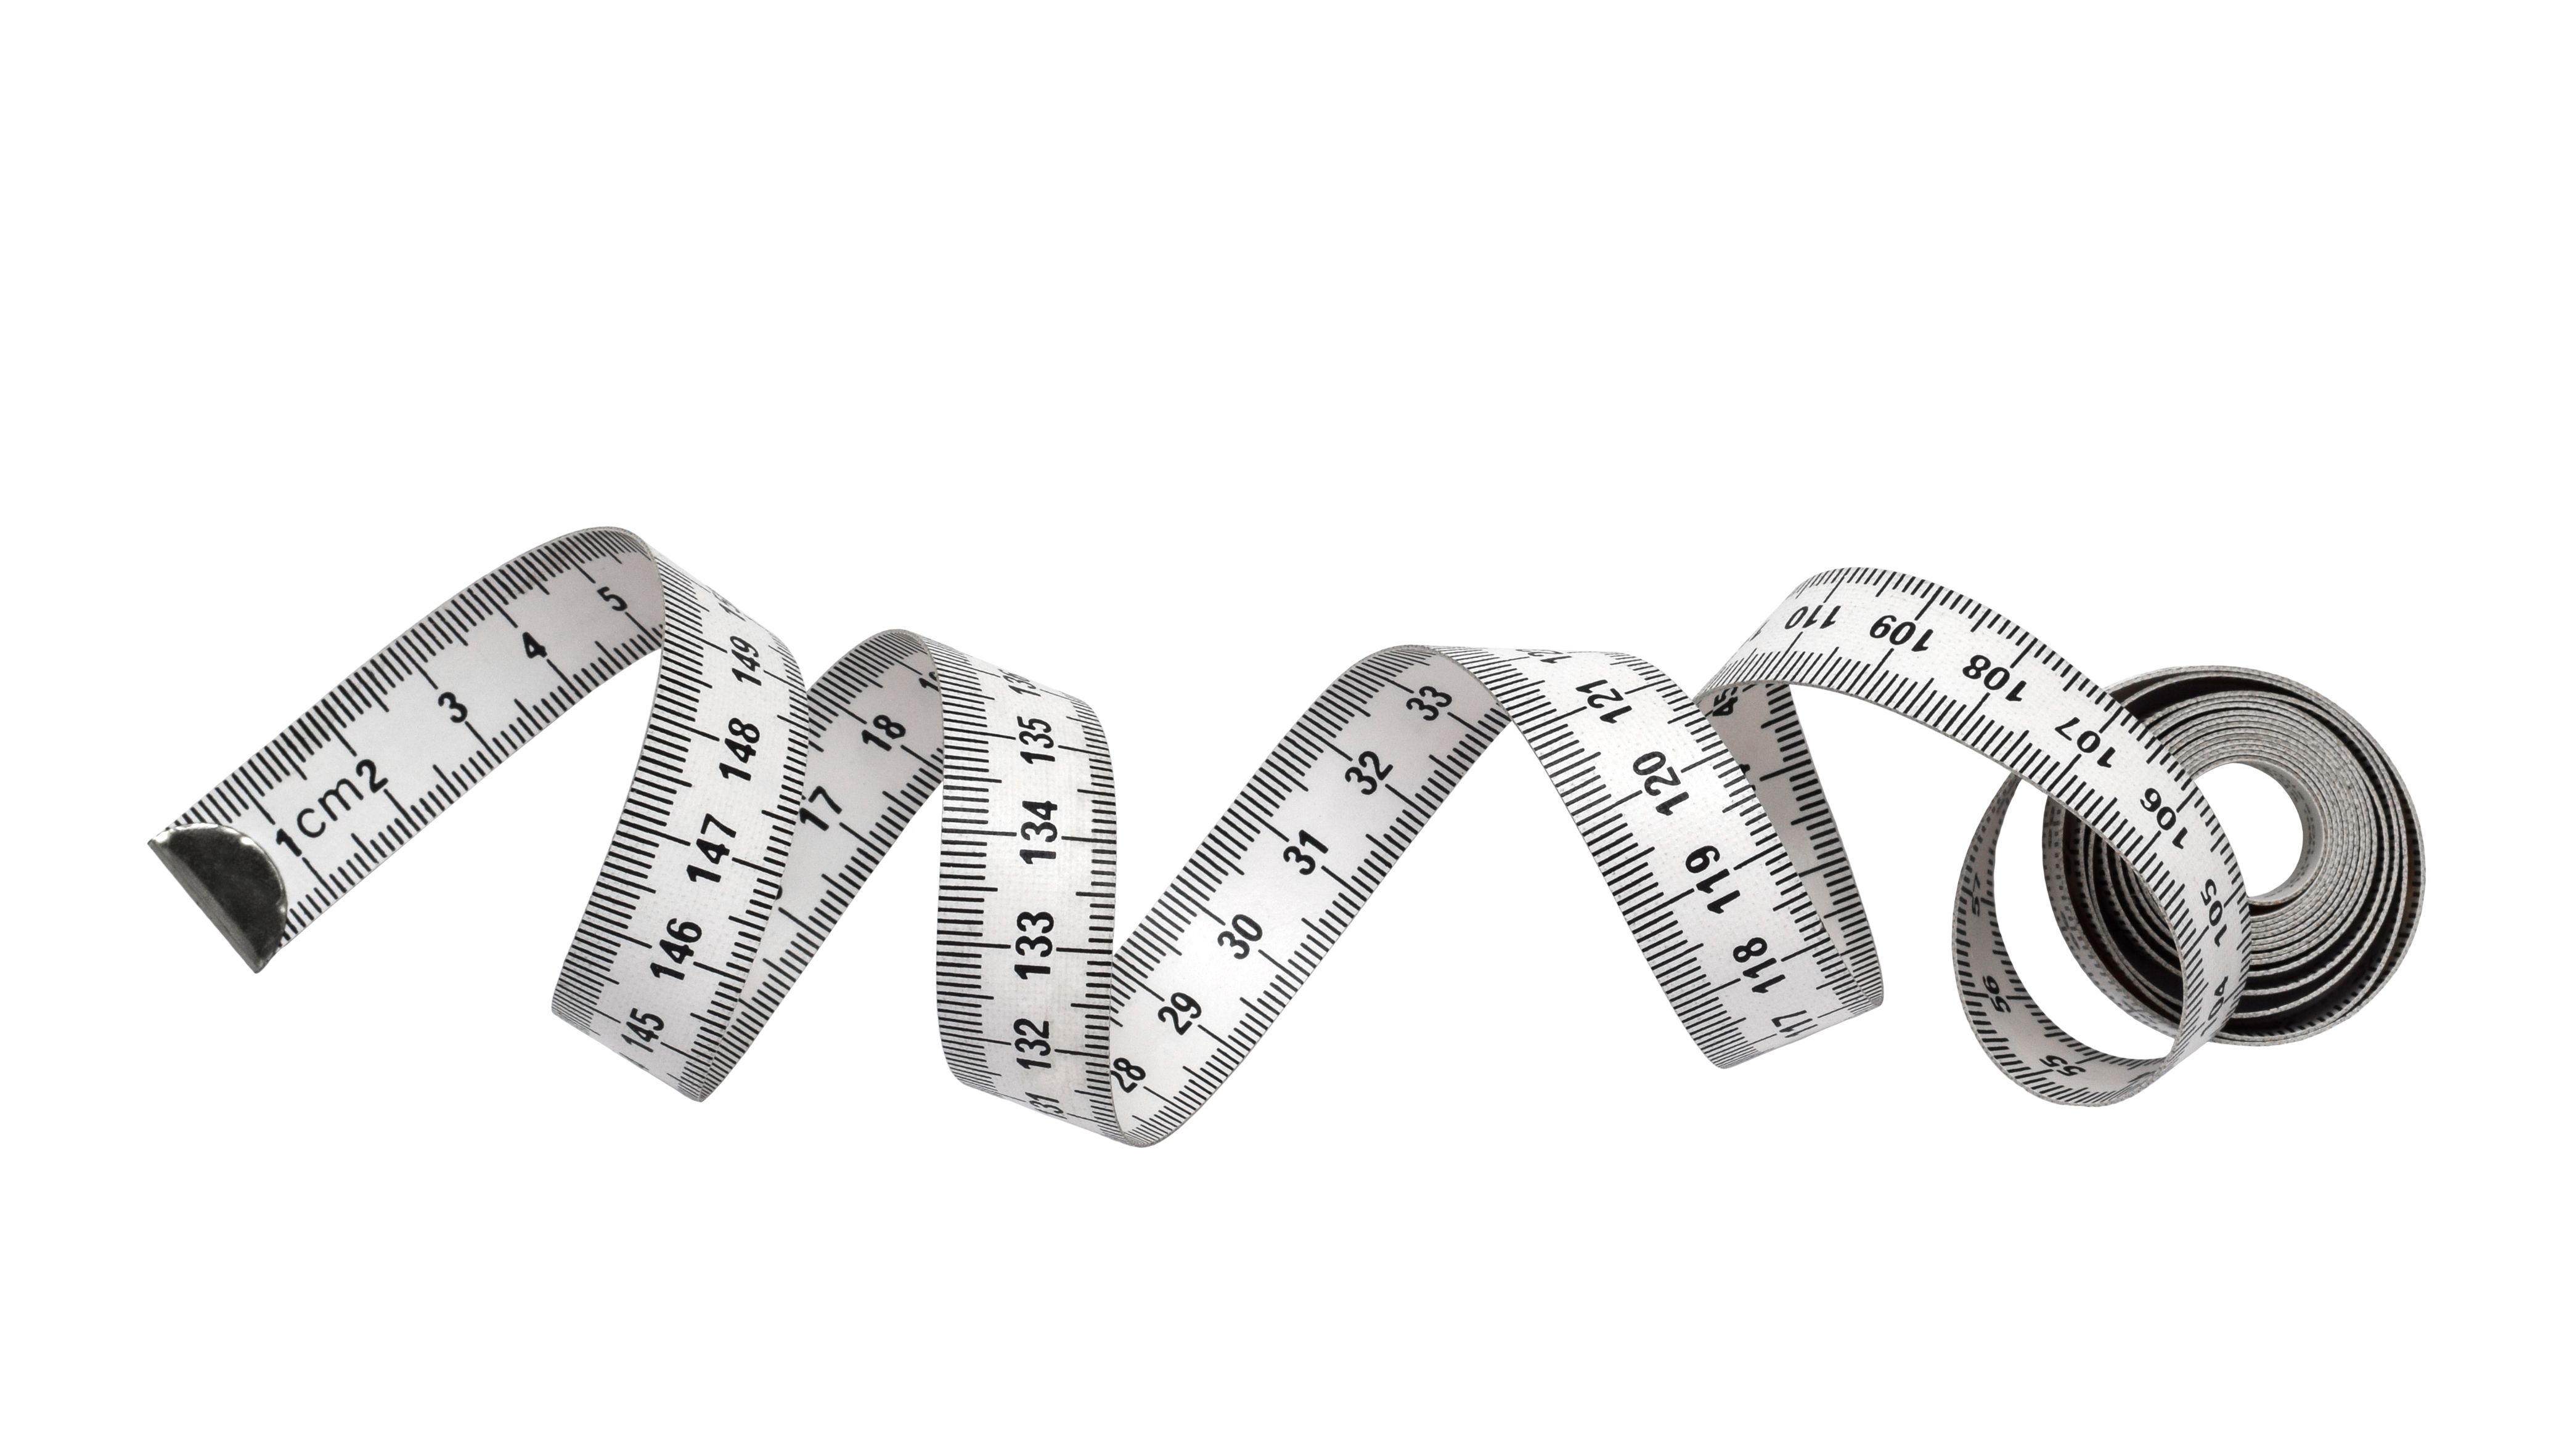
Accurate measurements are crucial for a successful installation. Measure the length and width of the room to calculate the amount of flooring you'll need. It's wise to purchase an extra 10% to account for mistakes and future repairs.
Preparing the Subfloor
Cleaning and Leveling
Ensure your subfloor is clean, dry, and level. Remove any debris or old adhesive, and fill in low spots with a leveling compound. A smooth surface will ensure the best results for your new flooring.
Installing Underlayment
Underlayment provides a cushion and barrier between your flooring and subfloor. Roll out the underlayment across the room, ensuring there are no gaps or overlaps. Secure it with tape as needed.
Installing the Flooring
Starting the Installation
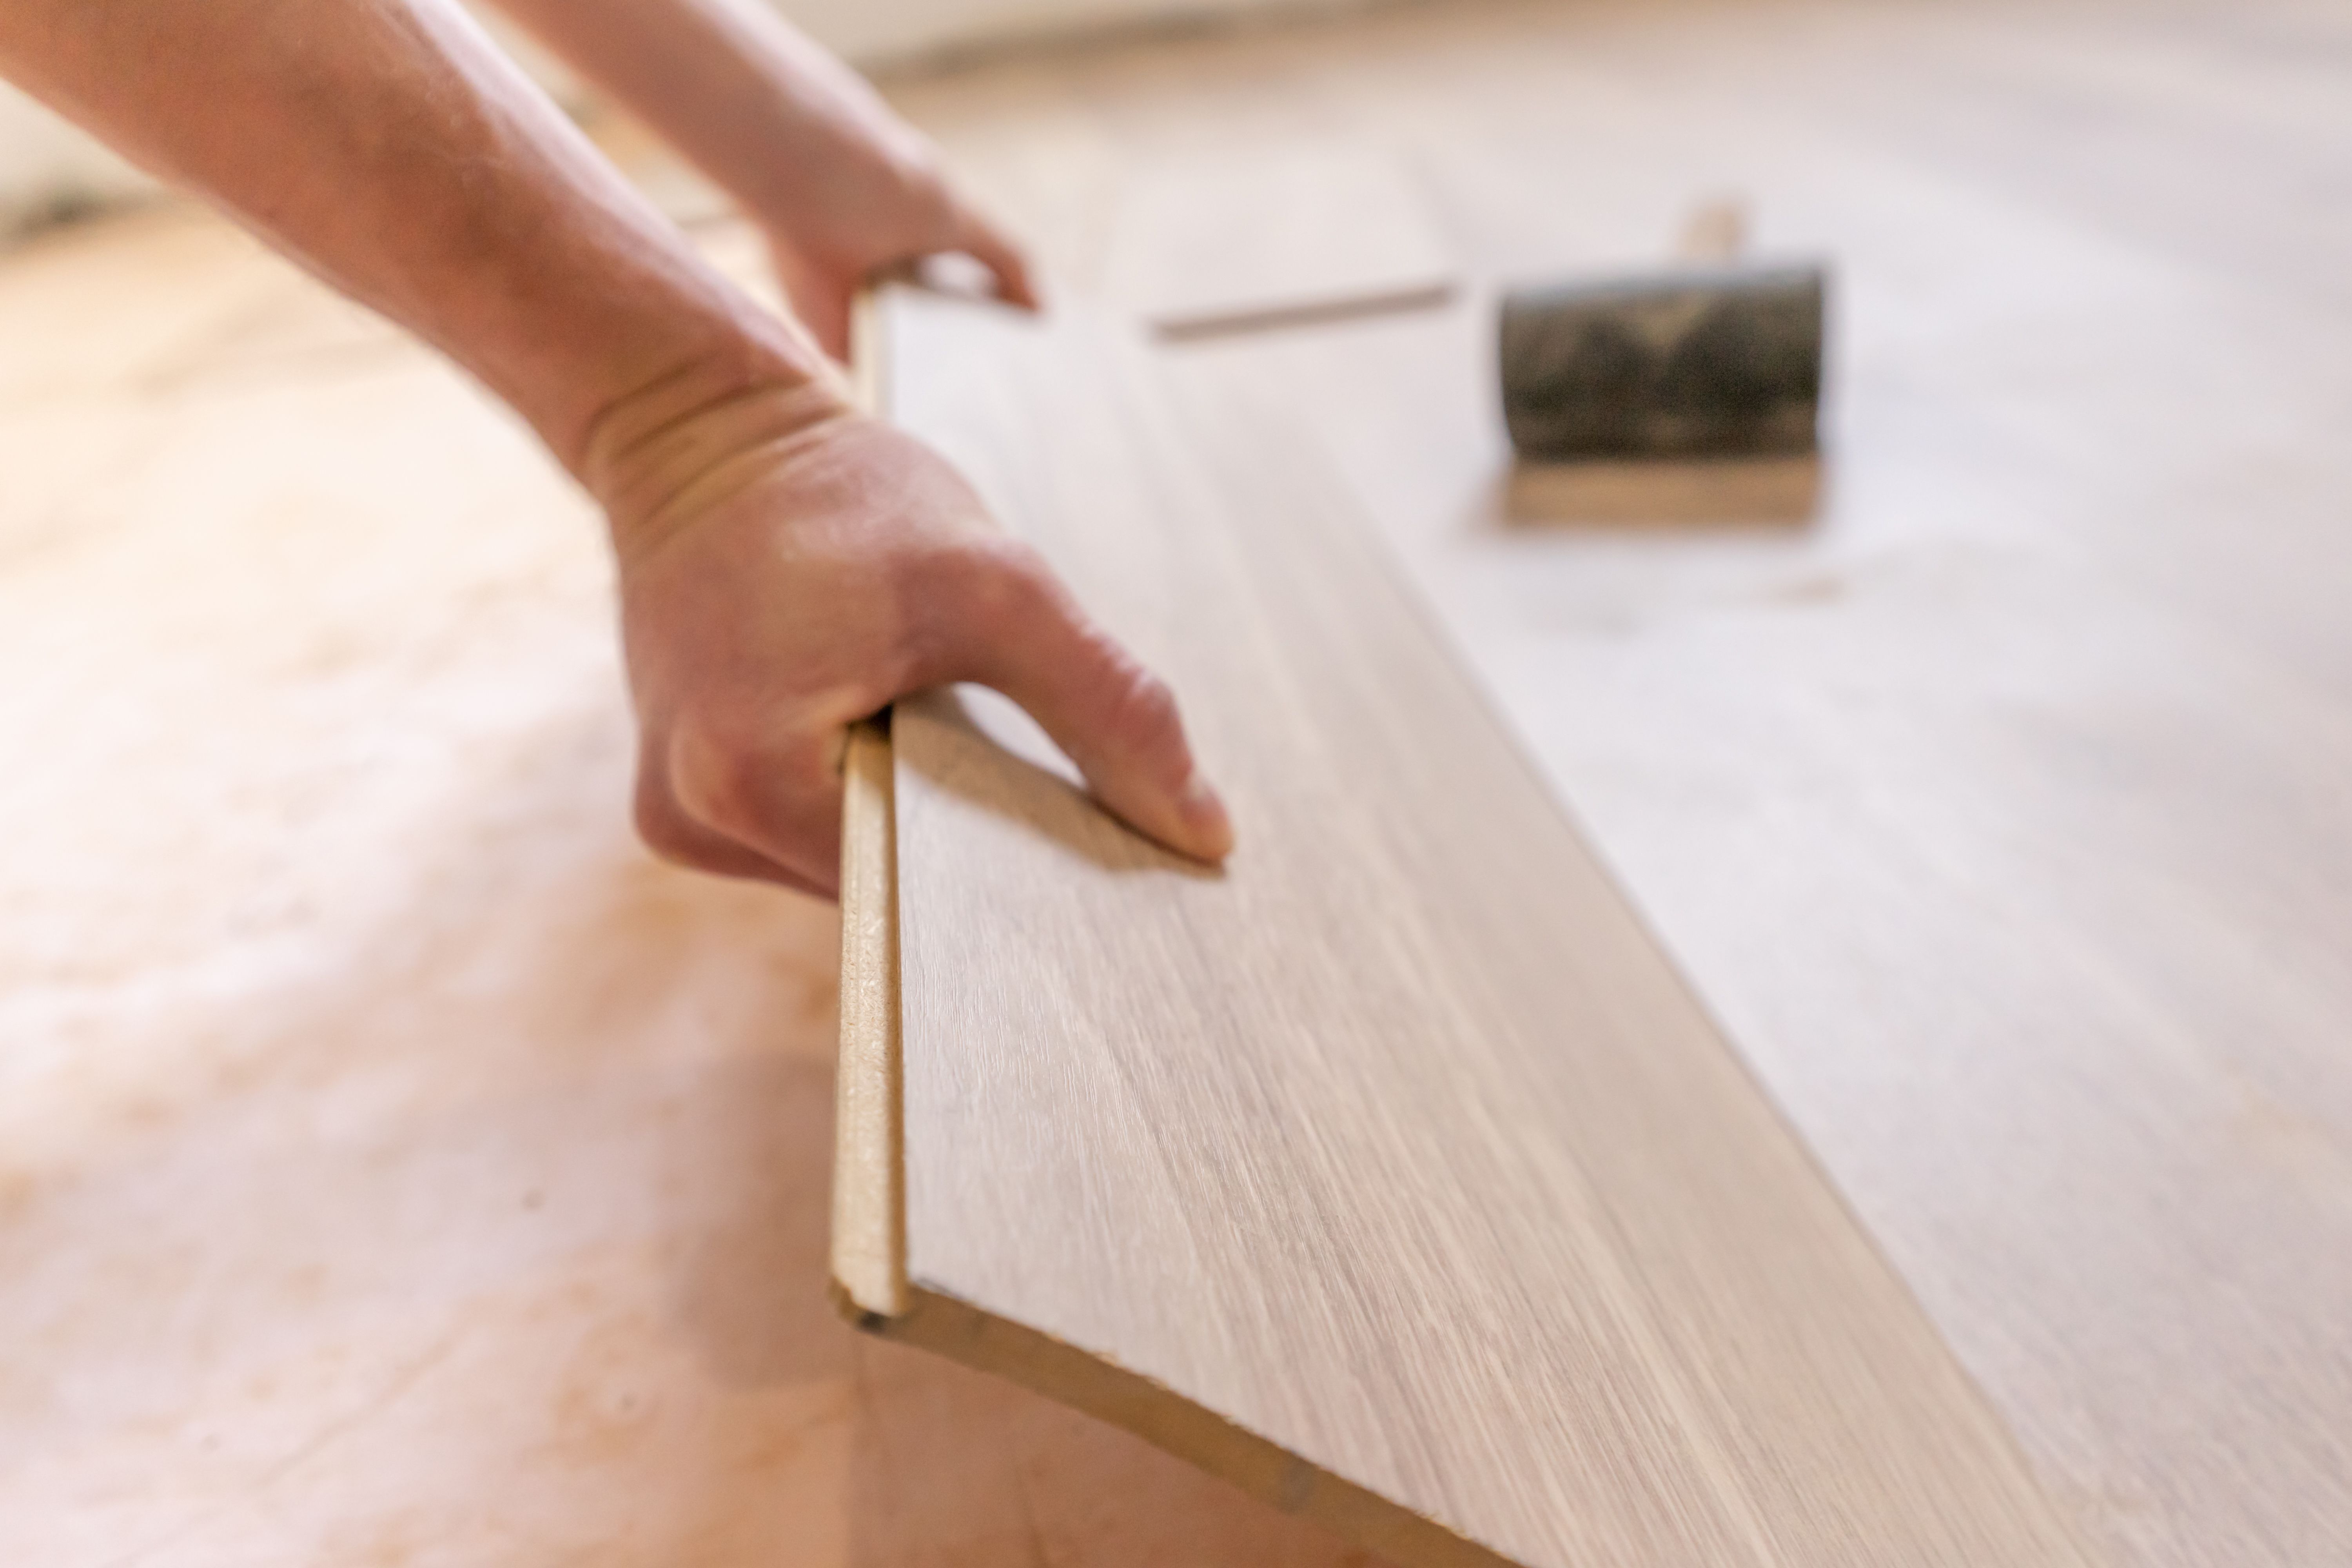
Begin at one corner of the room, laying the first row of flooring along the longest wall. Use spacers to maintain a small gap between the flooring and the wall to allow for expansion. This is crucial for a professional finish.
Cutting and Fitting
As you progress, you may need to cut the flooring to fit around obstacles or to complete rows. Use a saw to make precise cuts, and always measure twice to avoid mistakes. Keep the pattern consistent for the best visual appeal.
Finishing Touches
Securing the Flooring
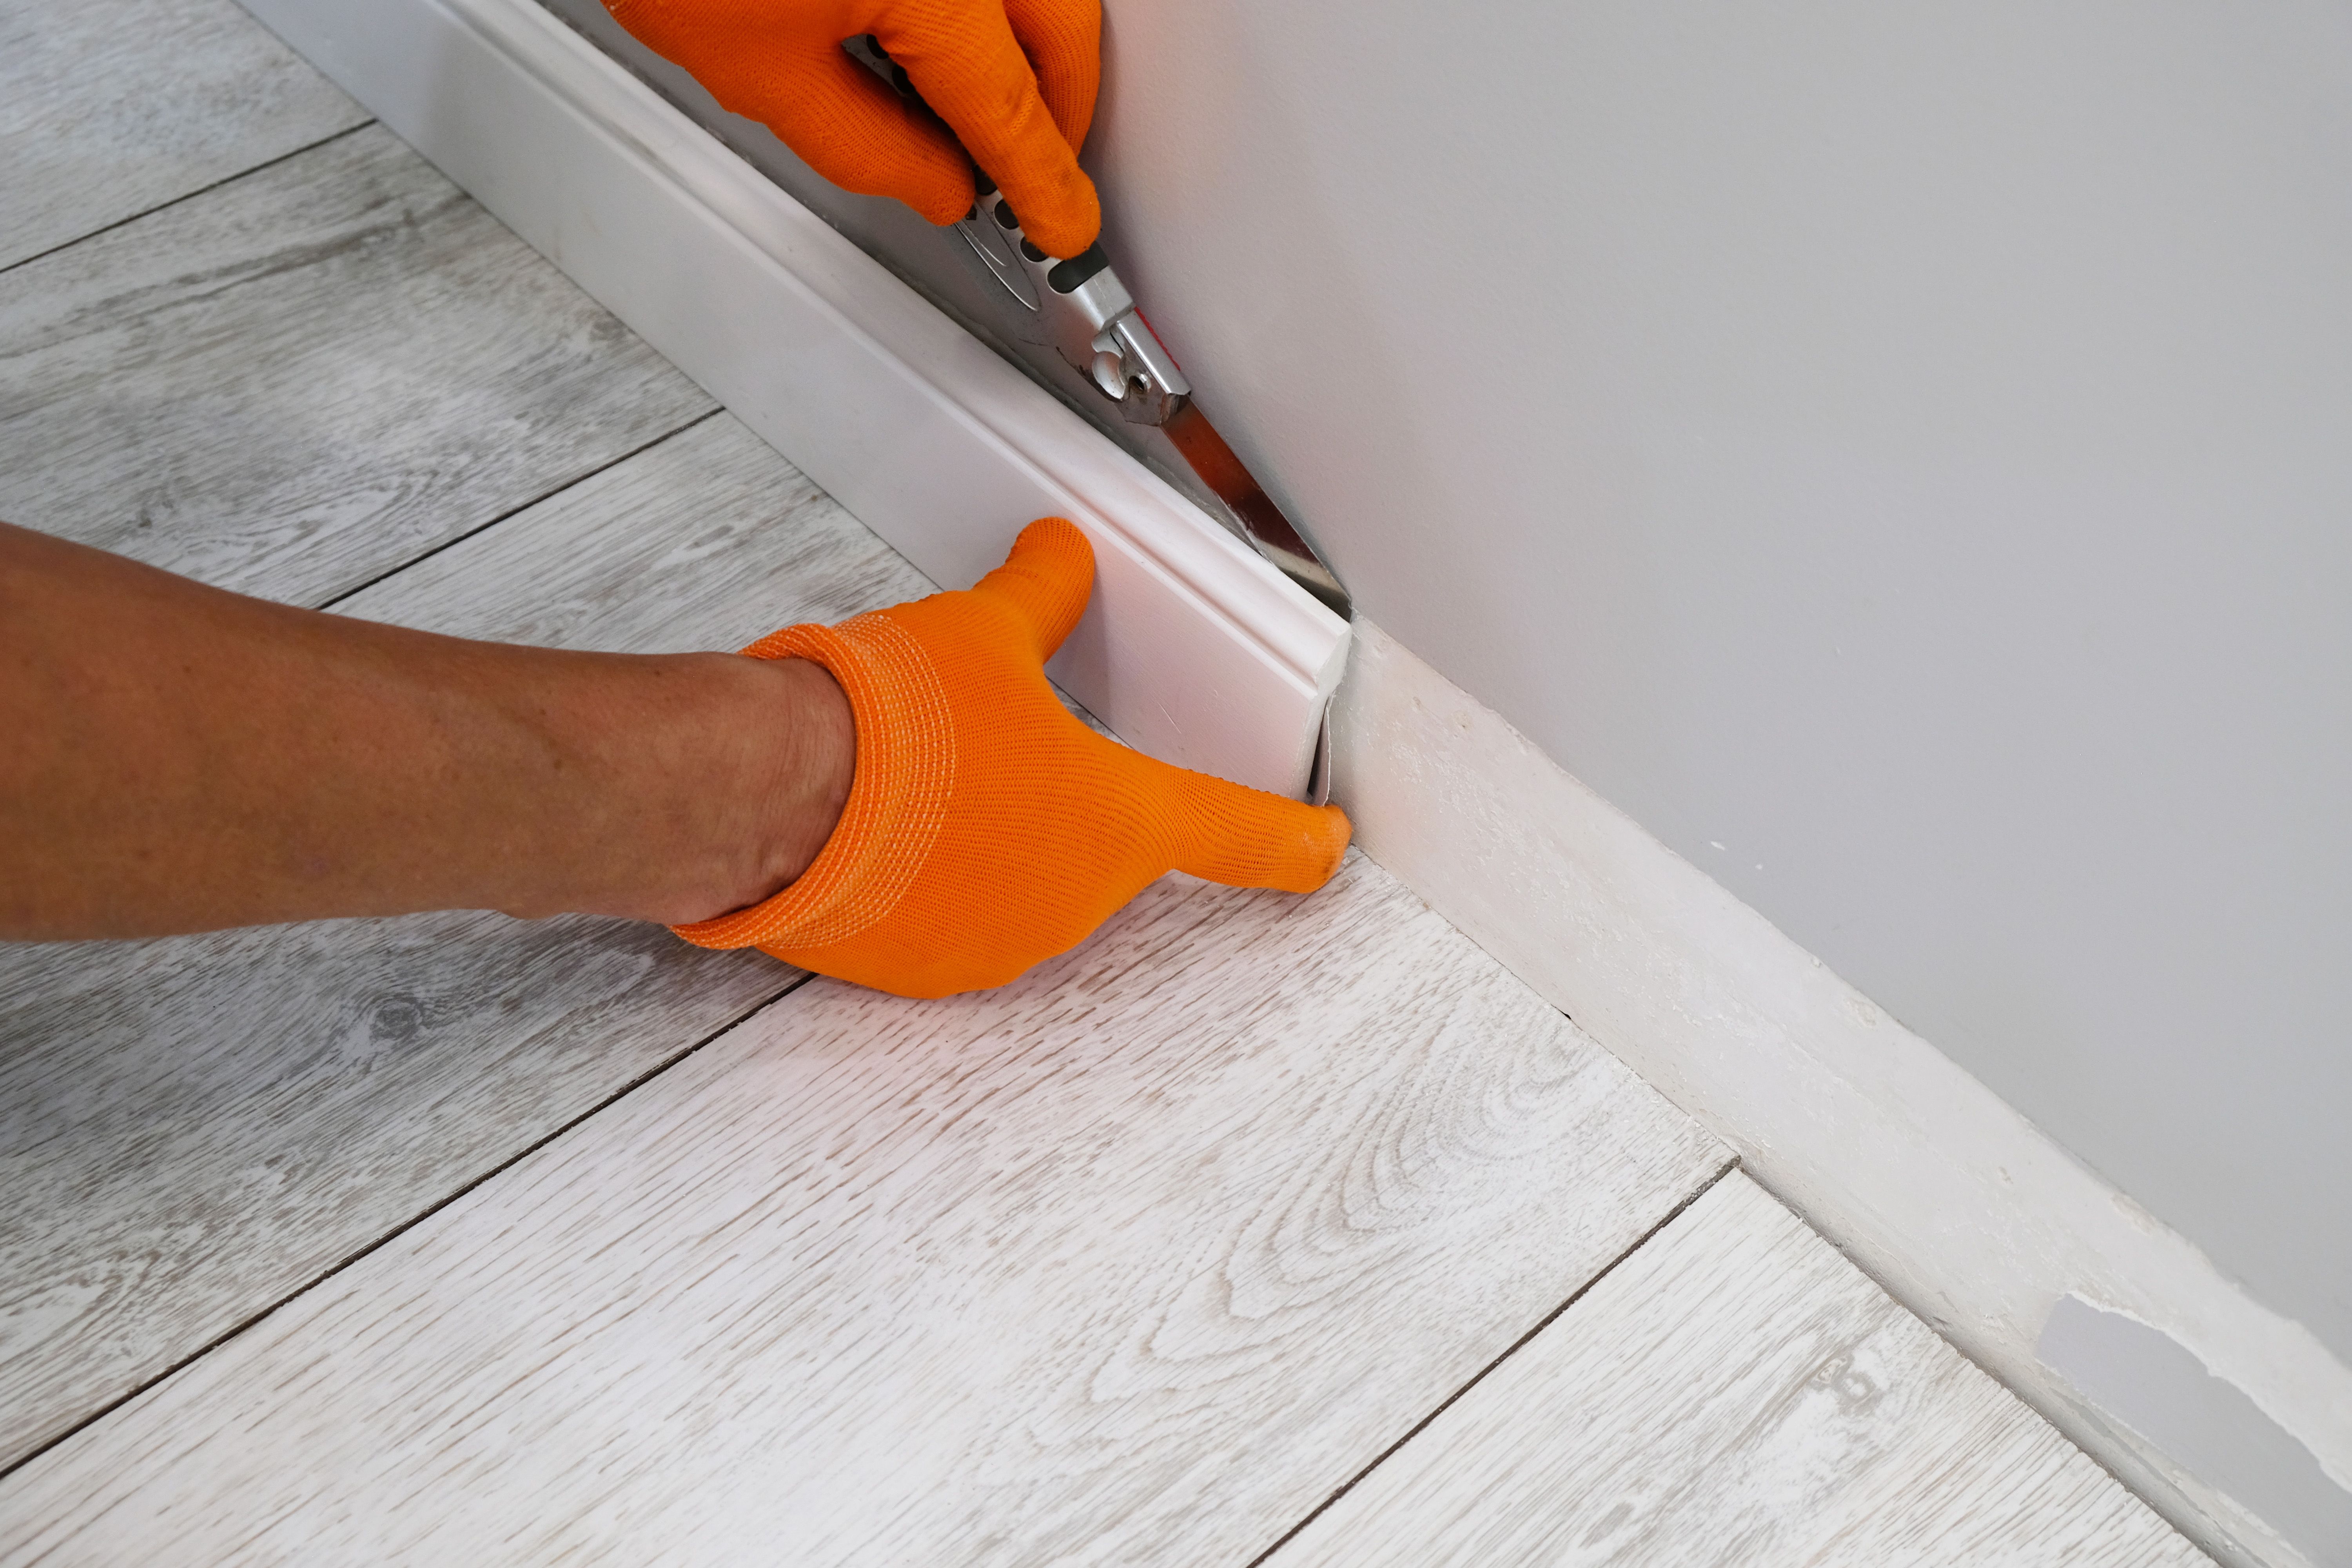
Once all the pieces are in place, remove the spacers and install baseboards or molding to cover the expansion gap. This not only secures the flooring but also adds a polished look to the room.
Cleaning and Maintenance
After installation, clean the floor to remove any dust or debris. Regular maintenance, such as sweeping and occasional mopping, will keep your floor looking fresh and prolong its life.
By following these steps, you can successfully install your own flooring and enjoy the satisfaction of a job well done. Happy renovating!