
DIY Flooring Installation: Step-by-Step Tutorial for Beginners


Introduction to DIY Flooring
Installing your own flooring can be a rewarding and cost-effective way to enhance your home. Whether you're updating a single room or tackling the entire house, understanding the basics can make the process smoother. This step-by-step guide is designed for beginners, offering clear instructions and helpful tips.
Gathering Your Materials
Before you start, make sure you have all the necessary materials and tools. Here's a checklist to get you started:
- Flooring material: hardwood, laminate, or vinyl
- Underlayment
- Measuring tape
- Saw (circular or hand saw)
- Hammer and nails
- Adhesive or glue (if needed)
- Flooring spacers
- Knee pads for comfort
Having everything ready before you begin will save you time and prevent unnecessary frustration.
Preparing Your Space
Preparation is key to a successful flooring installation. Start by clearing the room of furniture and old flooring. Clean the subfloor thoroughly, ensuring it's dry and free of debris. Check for any uneven areas and sand them down if necessary.
Next, install the underlayment, which provides a smooth surface for your new floor and helps with soundproofing. Make sure to follow the manufacturer's instructions for the best results.
Measuring and Cutting
Accurate measurements are crucial for a professional-looking finish. Measure the room's length and width, then calculate the total square footage to ensure you have enough material. It's recommended to purchase an extra 10% to account for mistakes and future repairs.
When cutting your flooring material, always measure twice and cut once. Use a saw to trim the pieces to fit around obstacles like doorways and vents.
Installing the Flooring
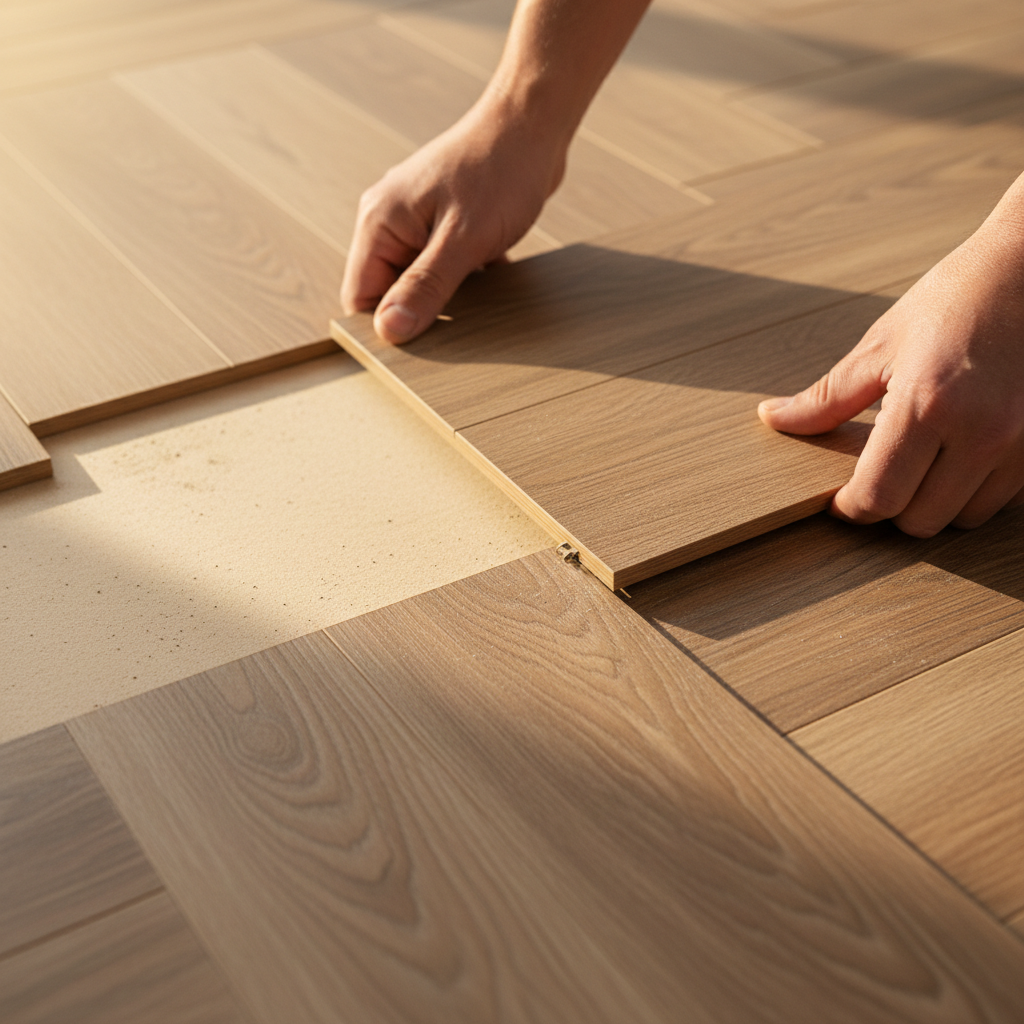
Start by laying the first row of flooring along the longest wall, using spacers to maintain a consistent gap between the floor and the wall. This gap allows for natural expansion and contraction of the material. Connect the pieces according to the manufacturer's instructions, tapping them gently into place using a tapping block and hammer.
Dealing with Obstacles
As you progress, you'll encounter obstacles such as door frames and heating vents. Carefully measure and cut the flooring to fit these areas, ensuring a snug fit. You may need to undercut door jambs to allow the flooring to slide underneath.
Finishing Touches
Once all the flooring is installed, remove the spacers and install the baseboards to cover the expansion gaps. Use a nail gun or adhesive to attach them securely. If needed, apply a sealant or finish to protect the surface and enhance its appearance.
Finally, clean the new floor with a suitable cleaner to remove any dust or adhesive residue. Replace the furniture, and enjoy your newly transformed space.
Conclusion
DIY flooring installation can be a fulfilling project that adds value to your home. By following these steps and taking your time, you'll achieve a professional look that you can be proud of. Remember, patience and precision are your best tools for a successful installation. Happy flooring!