
DIY Flooring Installation: Tips and Tricks for Homeowners


Getting Started with DIY Flooring
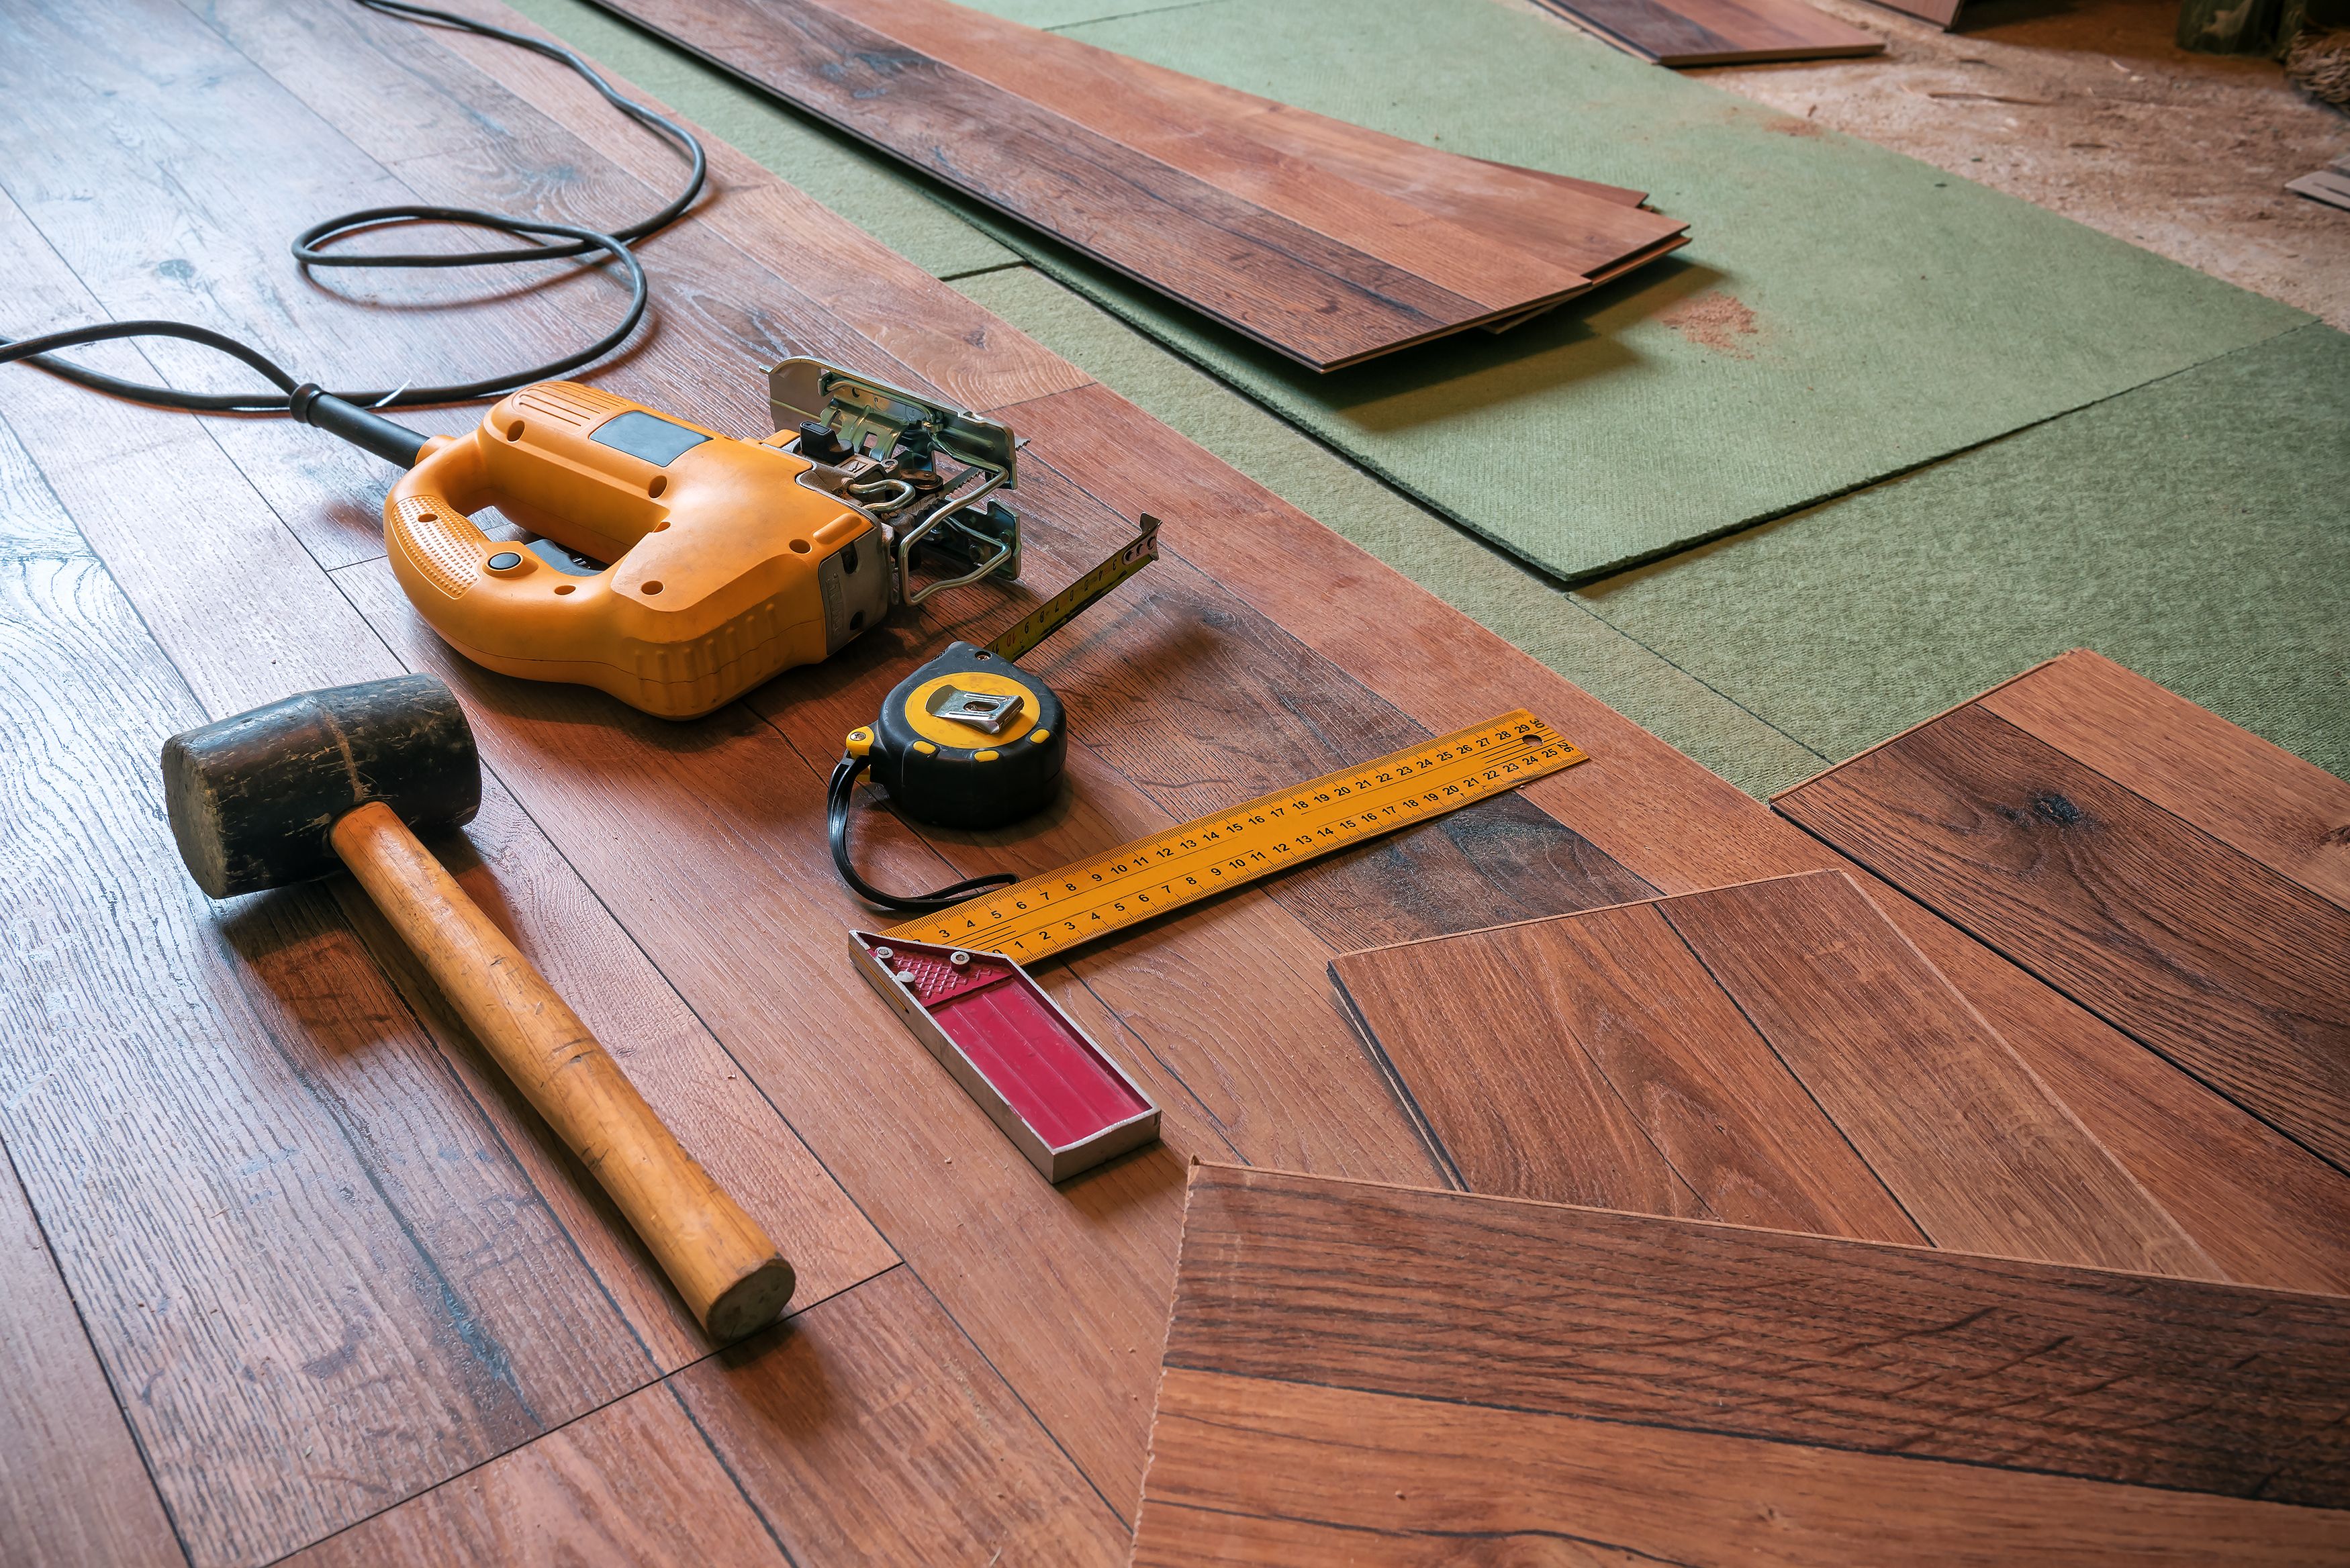
Embarking on a DIY flooring installation project can be both exciting and daunting. With the right tools and a bit of patience, you can transform your space without breaking the bank. Whether you're installing hardwood, laminate, or tile, having a clear plan is crucial for success.
Before starting, gather all necessary materials and tools. This includes measuring tape, spacers, a saw, and adhesive or nails, depending on the type of flooring. Make sure to account for a 10% overage when purchasing materials to cover any mistakes or odd cuts.
Preparing Your Subfloor
The foundation of a successful flooring project is a well-prepared subfloor. Ensure that the subfloor is clean, dry, and level. Uneven surfaces can lead to issues with your floor's appearance and longevity. Use a level to check the surface, and sand down any high spots or fill in low areas with a leveling compound.
Don't forget to remove any old adhesive or nails from the previous flooring. This ensures that your new flooring will lay flat and adhere properly. A clean subfloor also reduces the chance of future problems such as squeaking or shifting.
Choosing the Right Flooring Type
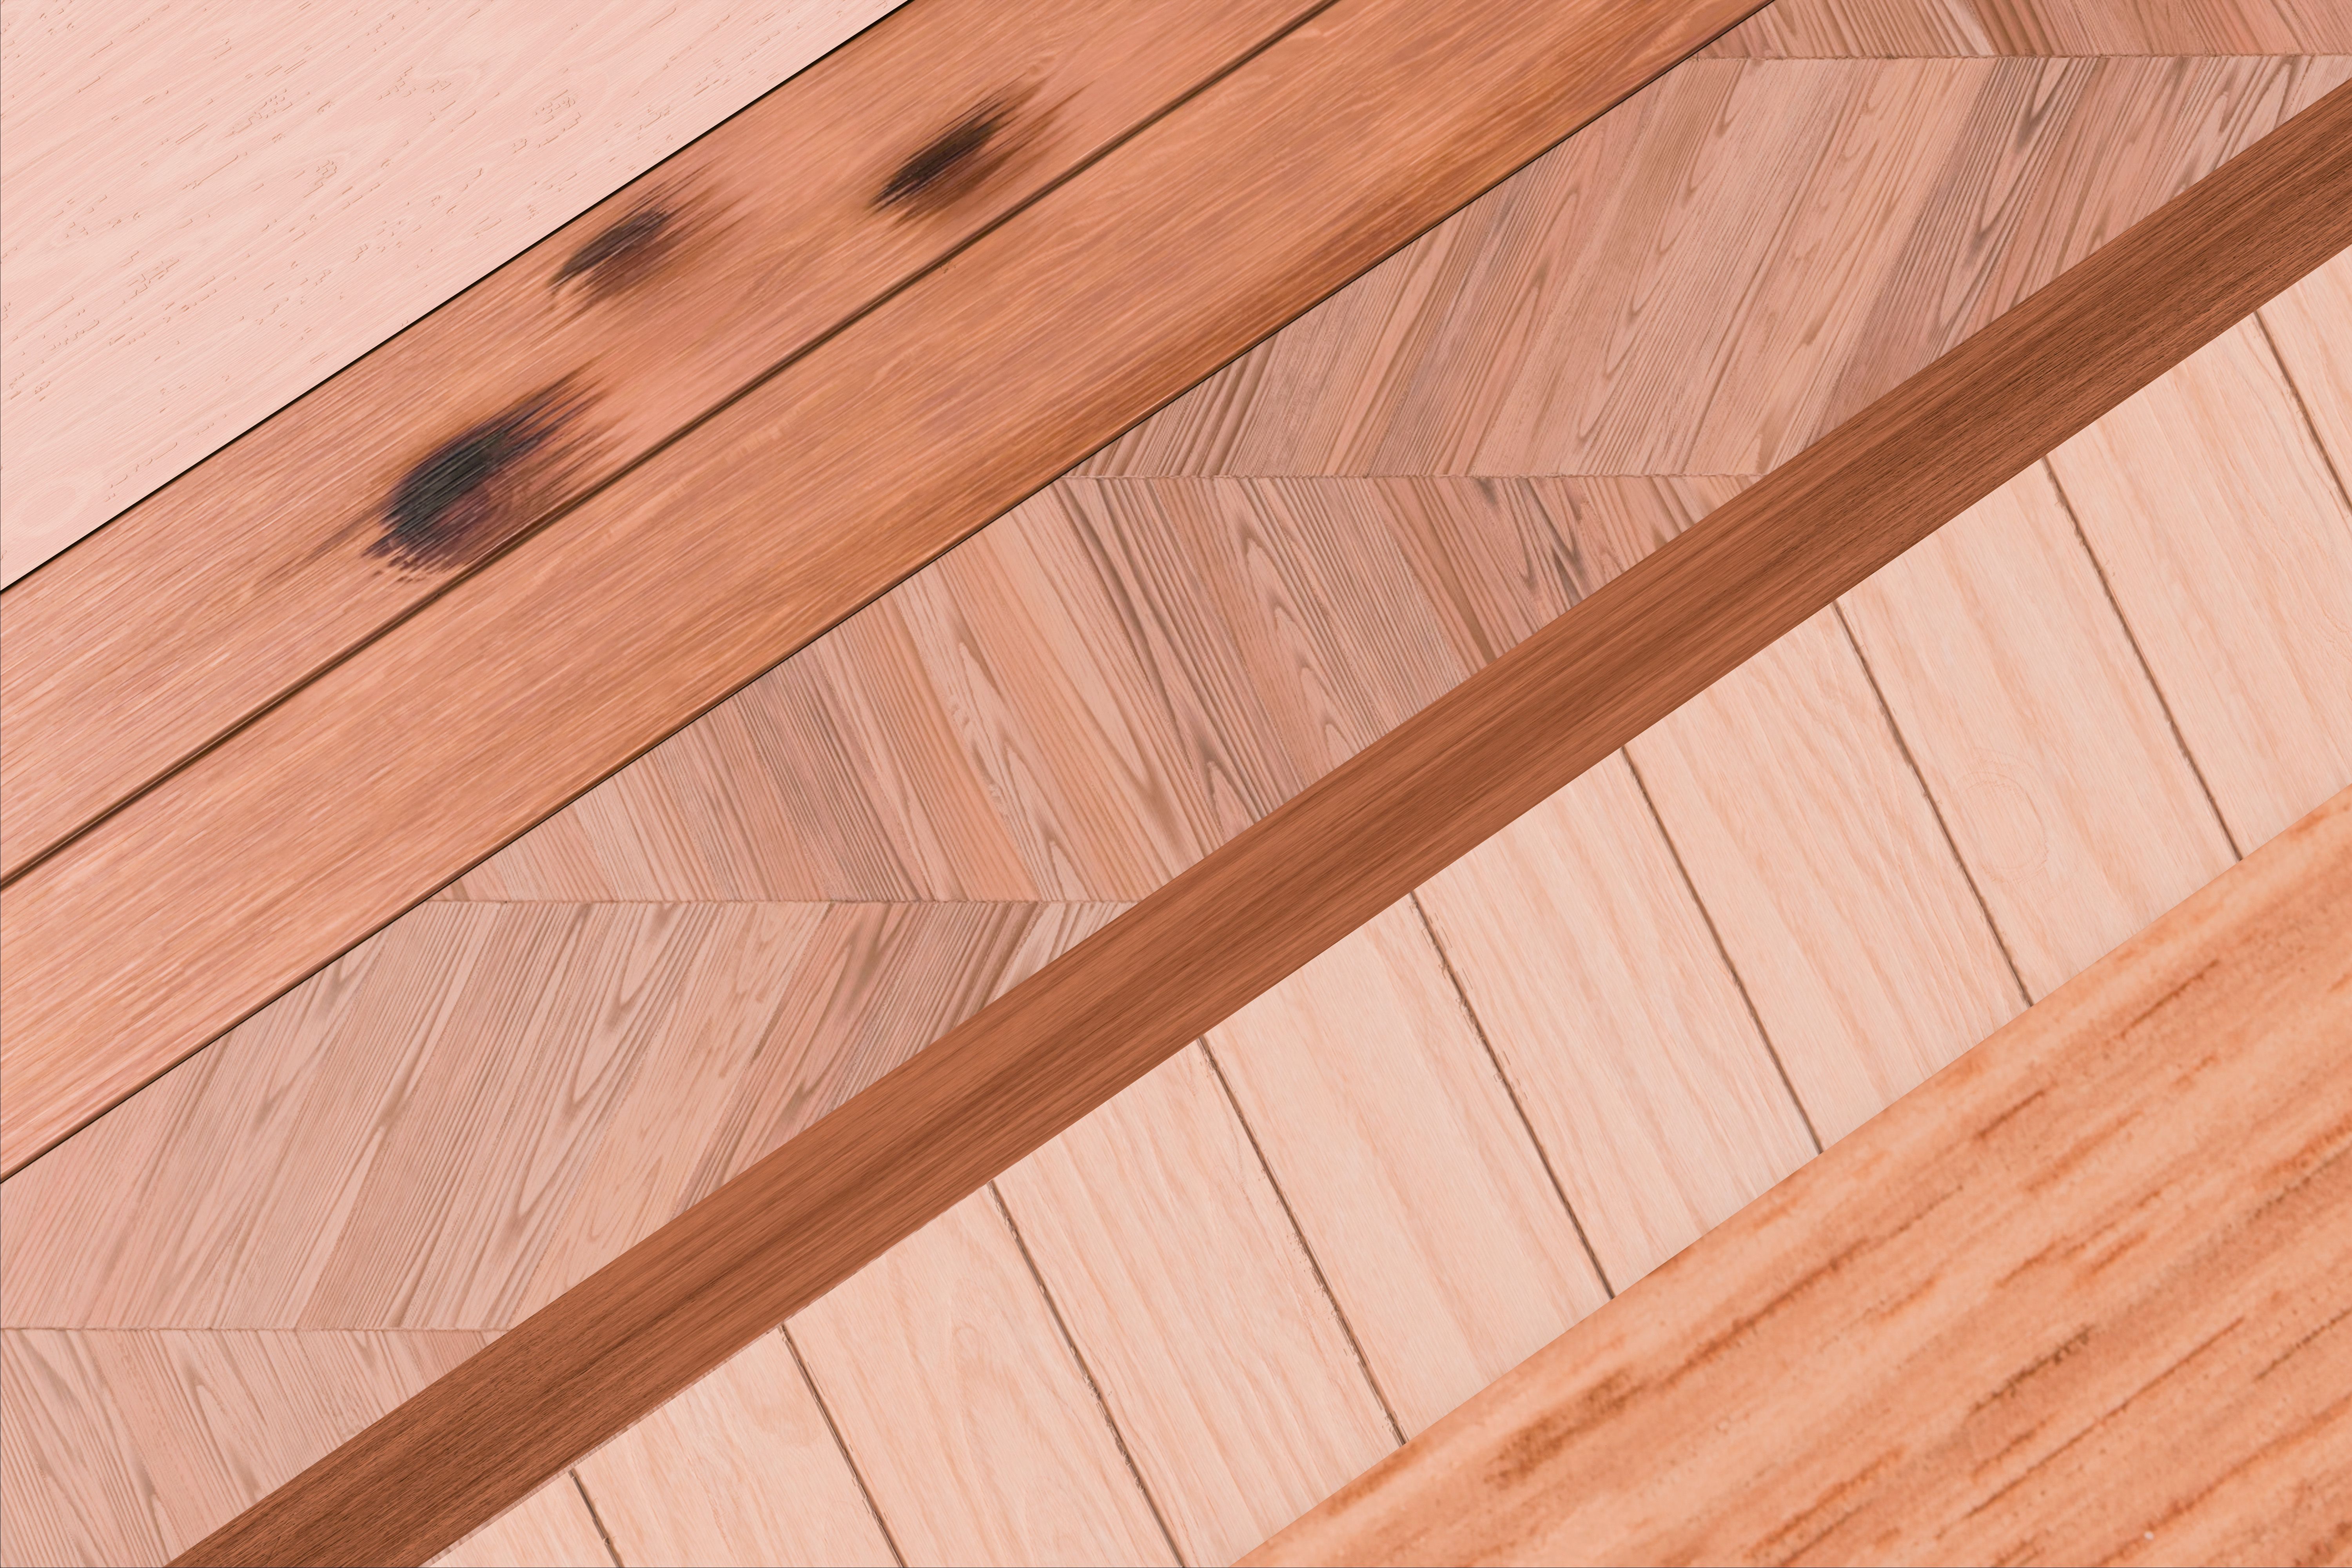
Selecting the right type of flooring for your space is essential. Consider factors such as durability, maintenance, and aesthetics. Hardwood offers a classic look but requires more upkeep, while laminate is budget-friendly and easier to maintain. Tile is an excellent choice for bathrooms and kitchens due to its water resistance.
Once you've decided on a material, read the manufacturer's instructions carefully. Each type of flooring has specific installation requirements, and following these guidelines will help ensure a professional result.
Installation Techniques for Different Materials
Each flooring type has its own installation method. For hardwood and laminate, you may use a click-lock or tongue-and-groove system. These methods are user-friendly and often require minimal adhesive or nails. Ensure you leave a small gap between the floor and walls to allow for expansion.
Tile installation involves laying out the tiles first to ensure an even pattern. Use spacers to maintain consistent grout lines. Once satisfied with the layout, apply adhesive and press the tiles firmly into place. Allow the adhesive to dry before applying grout.
Finishing Touches
After installing your flooring, take some time to focus on the finishing touches. Trim any excess material at the edges and install baseboards or quarter rounds to cover gaps between the floor and walls. These additions provide a polished look to your project.
For hardwood or laminate floors, consider applying a protective finish to enhance durability and appearance. Regular cleaning and maintenance will keep your new floor looking its best for years to come.
Common Mistakes to Avoid
Avoid common pitfalls by planning your project carefully. Measure twice before cutting materials to prevent waste. Be patient and allow adhesives or finishes to dry completely before walking on the floor.
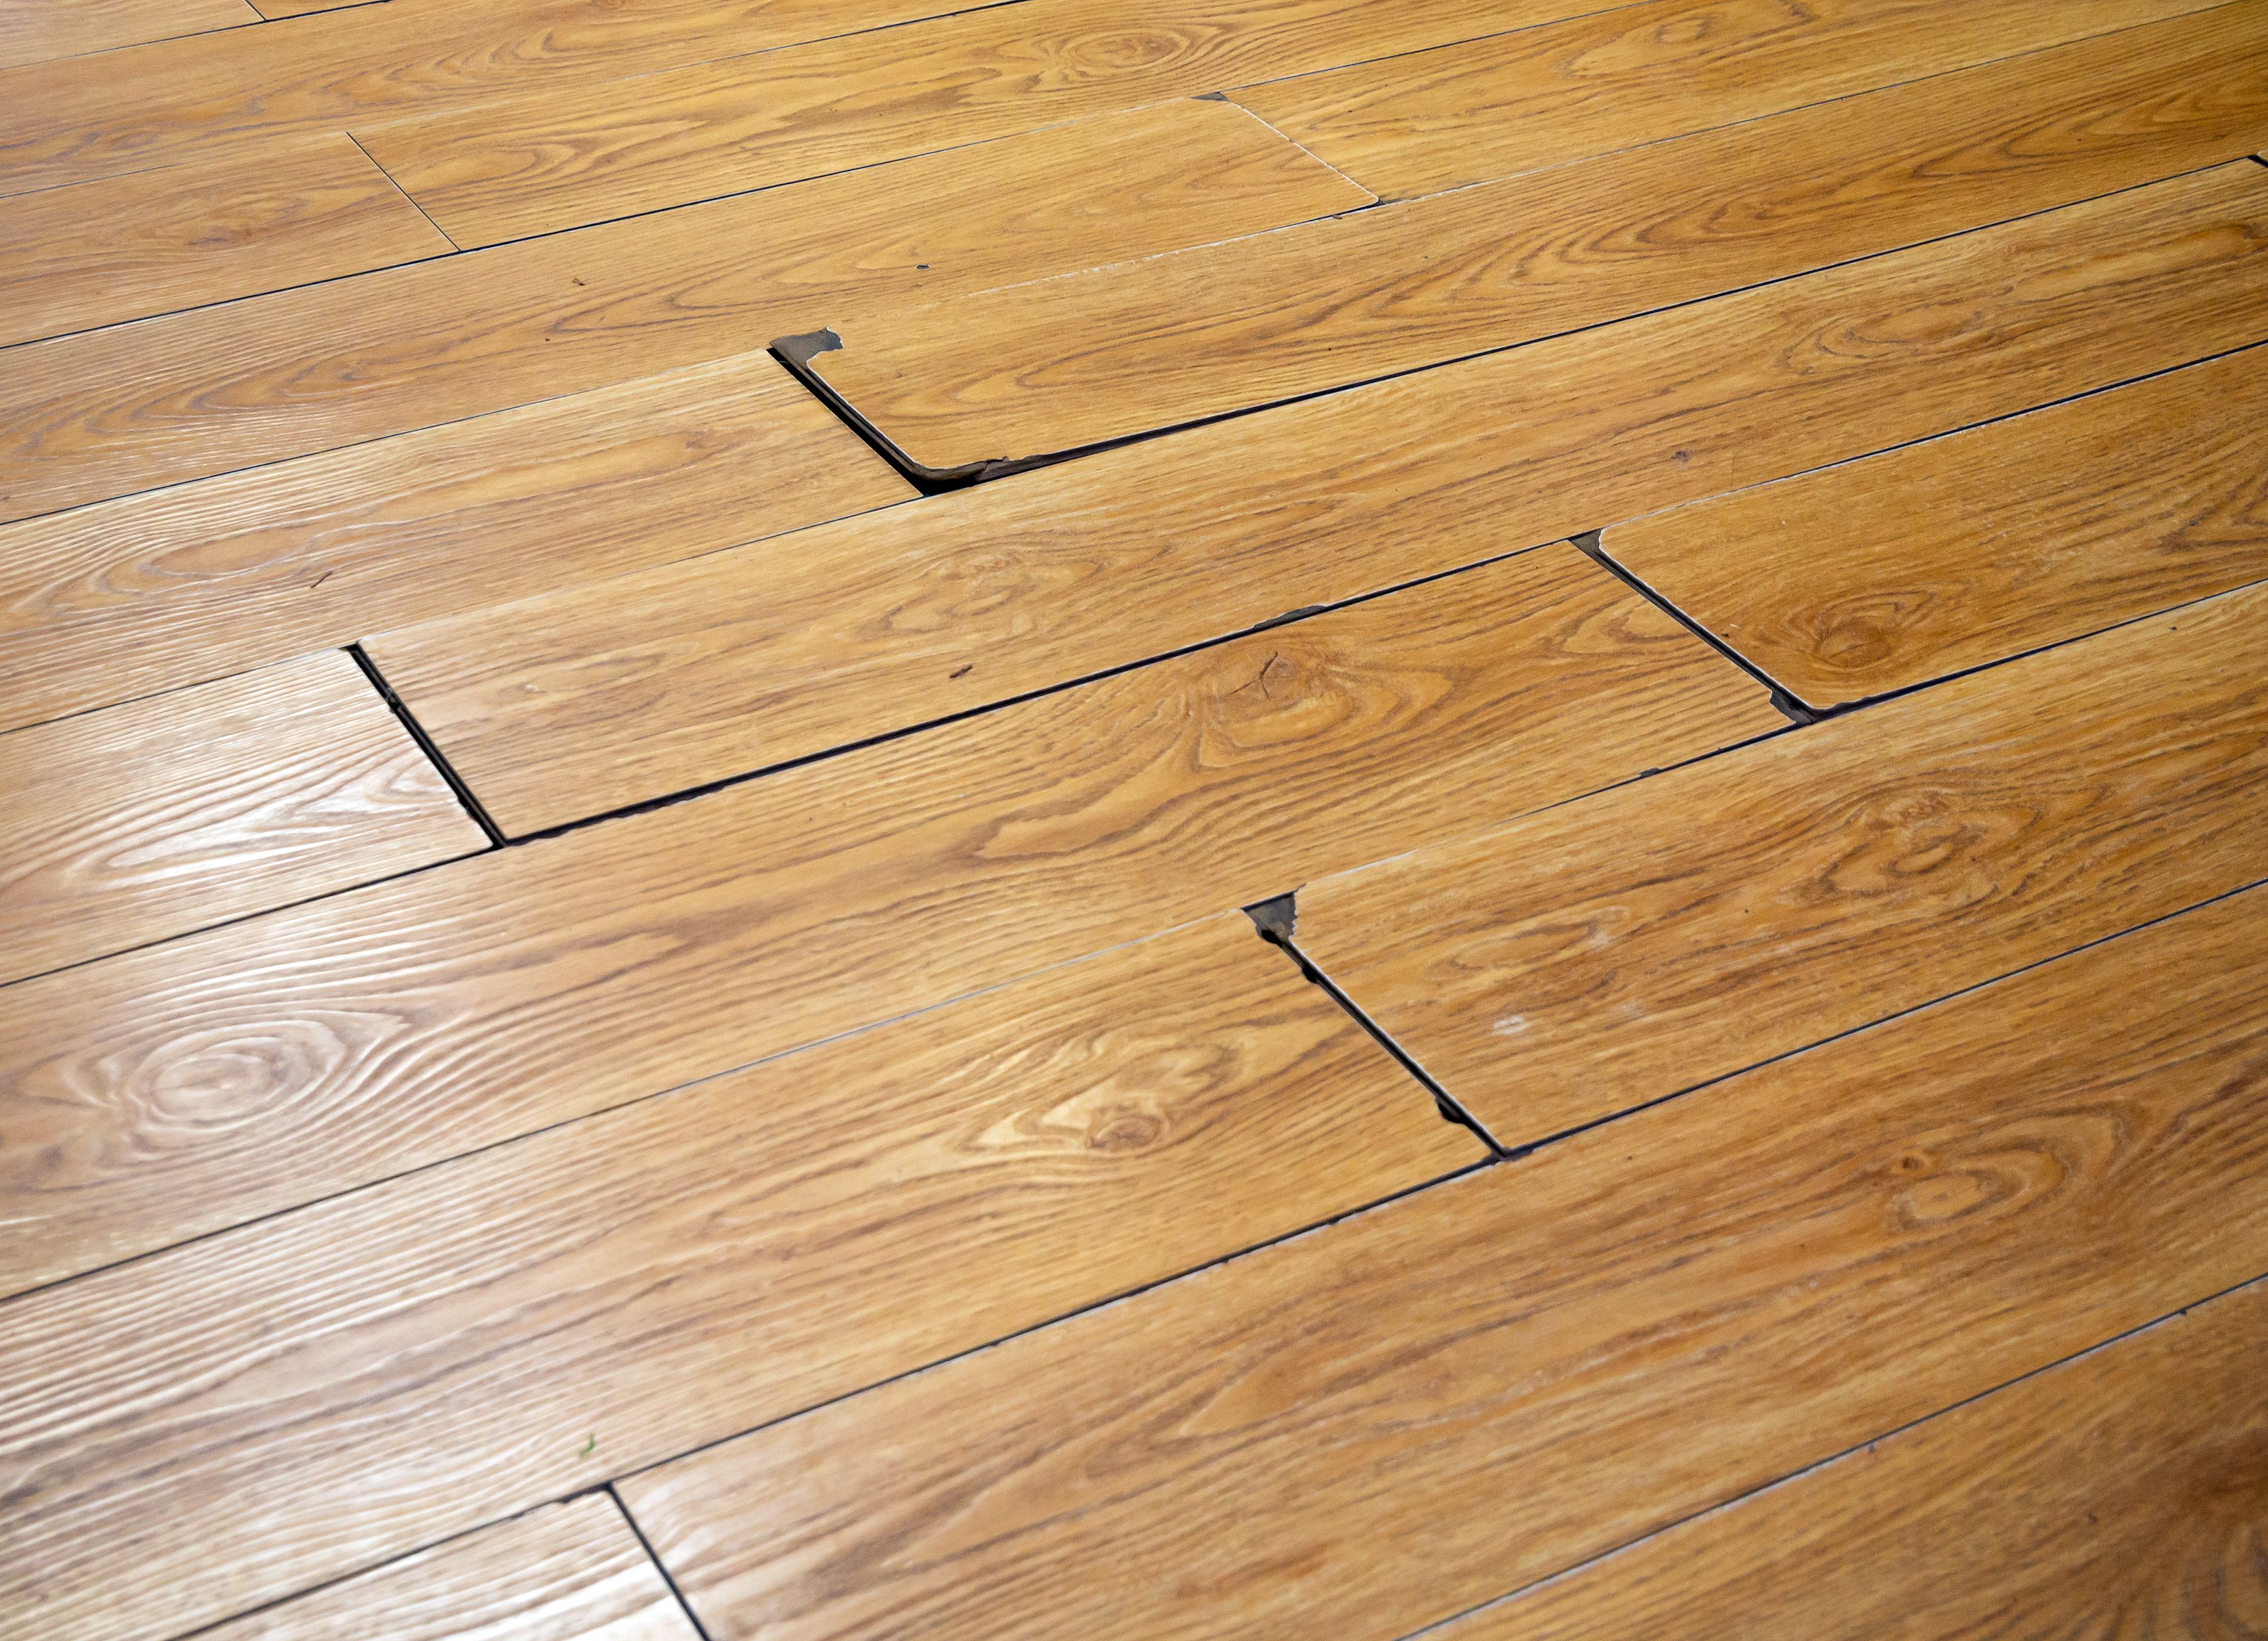
Lastly, don't rush through the process. Taking your time ensures that each step is done correctly, leading to a flawless finish that you can be proud of. Remember that DIY projects are as much about learning as they are about saving money.